

This is such an easy list of ingredients. White cake mix, food colors, oil, eggs, sugar, vanilla, cream of tartar, sprinkles, and baking cups.

Use your mixer (or by hand!) and mix your cake mix with the ingredients listed on the box.

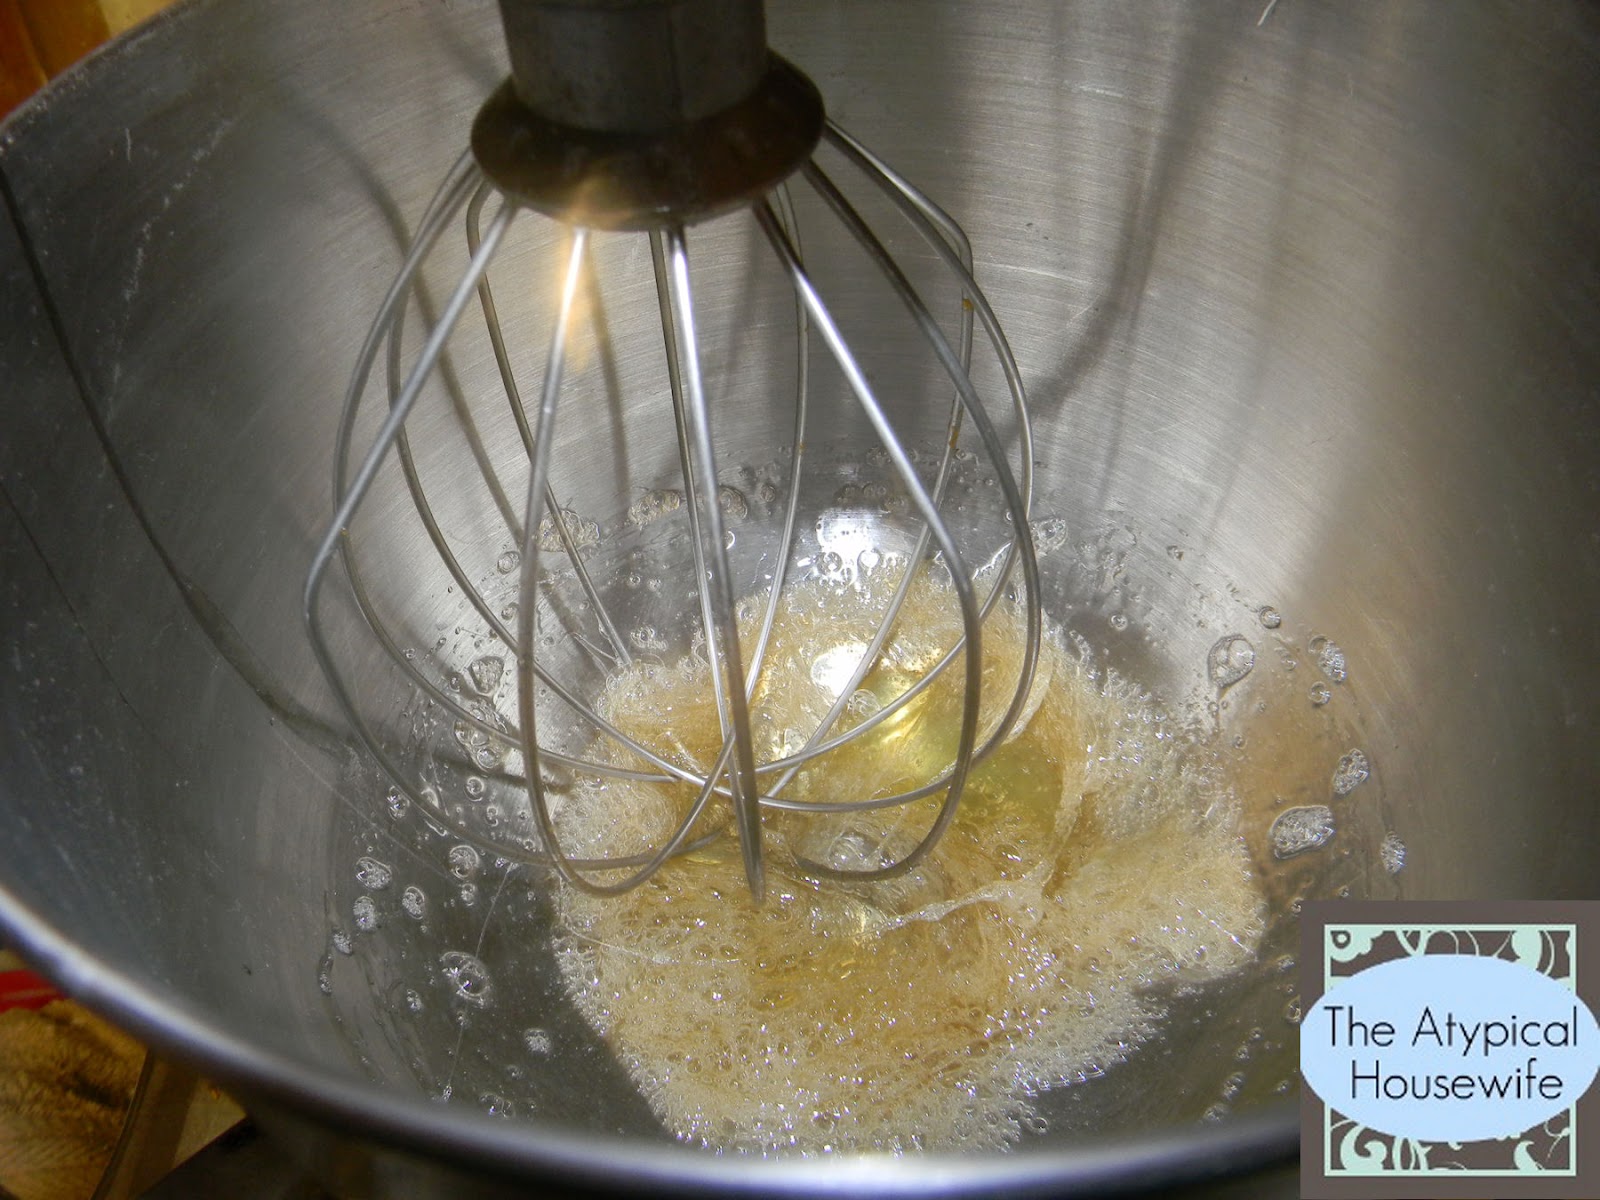
Had to show this action shot! I'm so thankful for my mixer some days.

Once you get your cake batter mixed, set out your bowls. I used 7 bowls, because I did 7 colors, you can do more, or less, just each color needs it's own bowl. I did a cup in each bowl I think? Just try to separate them equally. (Keeping it real here, check out how I only have two matching bowls!)

My first color up was orange. I actually had no food coloring so we bought some. My husband was so nice and let me buy both traditional and neon. It's hard for me to justify buying two of something like this, but he just took them and put them in the cart! I just guessed on the amount.

Here is what it looked like after I mixed the first bit of color in.

Of course I didn't think it was dark enough, so I added more.

It's hard to tell a difference in the picture, but I assure you there was. I will say it used much more food coloring than I thought it would, but I did want my colors bright. You could totally do pastels.

Here are all my colors mixed. Yellow, purple, pink, green, orange, red and blue.

Next is the more tedious task. Put your muffin tins in and get ready to start dipping! For this I put a spoon in each bowl which makes things much easier.

I planned on turning this, but forgot sorry! I think your supposed to spread each color flat, that makes it more rainbow like. That seemed awfully difficult though so I just did little plops! I think that's why mine seemed more Dr. Seuss like.

Here they are all dipped and ready for the oven.

All cooked and ready to cool and be iced! My second dozen were smaller than this batch. To do two dozen I would actually suggest two cake boxes, as I struggled to get two dozen from my one box.

Another artistic cupcake shot.

Next, fluffy icing! Have you ever had fluffy icing? I love it. Take your sugar, water, and cream of tartar and heat them on the stove over medium high heat.

In your mixer add egg whites and vanilla, and start to whip.
Another awesome action shot, this is just after the first few moments.

This is the moment I stopped whipping, and checked on my sugar mixture.

I totally apologize for the scortch marks on my pan! Can I blame them on my husband? Your sugar mix is ready once it is bubbling and clear. You want to slowly poor this mixture into your egg mixture while whipping on high.

After just a minute, or minute in a half you will have nice, fluffy icing!

Take your delicious cupcake...

And slather it with fluffy icing, and sprinkle with sprinkles!
These tasted great, and looked so cool. They would be a huge hit with kids as well! The fluffy icing does get hard the longer it sits around, in or out of the fridge. I would suggest if doing these for a party or something icing them the day of the party. I can't wait to make these again. And think of the possibilities! You could do pastels for Easter, red and green for Christmas, orange, red, yellow for fall, and for Halloween you could do orange and black, or orange, green, and purple! Have fun and enjoy!


5 comments:
So CuTe! I have to make these for my little ones! Thanks for linking up at my Homemaking Party.
Yum! Those look like fun. I love playing with cake decorations.
Nice! My family will love these. Thanks!
Love! They look fun and yummy!
My girls would love these. Thanks for the recipe! Yummy!
Post a Comment